The Skull First, the Hairstyle Second
Always start by drawing the skull, even if it will be completely covered. Then mark two reference points:
- The hairline, which runs roughly above the forehead, higher than one might think. Hair starts there, not at the eyebrow.
- The starting point, or cowlick, often placed at the top and slightly back of the skull. All strands originate from this point, radiating outwards. This is what gives the hairstyle its coherence.
Next, draw the hairstyle above the skull, with a gap of at least a few millimeters. This thickness is the volume. The most common mistake among beginners is to follow the exact contour of the head: the character then looks shaved under a layer of paint.
The three masses
A manga hairstyle is broken down into three groups, never individual strands of hair:
- the bangs, at the front, which fall on the forehead;
- the sides, which frame the face and go in front of or behind the ears;
- the back, the most voluminous mass, the one most often forgotten and which gives the head its depth.
First, block in these three masses as solid shapes before adding any detail. If the hairstyle's silhouette is good at this stage, the rest will just be filling in.
Strands: Ribbons, Not Hair
Each strand is drawn like a twisting ribbon: wide at the base, tapered at the tip, with sometimes a twist that shows the underside. Three principles are enough.
1. Group by threes
Strands go in uneven packets, ideally one large, one medium, and one small. Strands all of the same size give a mechanical comb effect. Irregularity is what makes hair believable.
2. Follow the curve of the skull, then gravity
A strand first hugs the sphere, then detaches and falls. The tipping point is where the skull curves. If your strands go straight down from the top, the head will appear flat.
3. Allow for movement
A strand that sticks out, two or three tips that go in the opposite direction, and the hairstyle stops being stiff. On the other hand, not everyone needs to move in all directions: it's the contrast between a calm mass and a few escapes that works.
The highlight, or shine
The shiny band is not a decorative shape placed randomly: it marks the spot where the skull is most rounded relative to the light source. It therefore follows a curve, never a straight line, and it breaks into irregular pieces rather than forming a continuous arc. On black hair, do not fill in with pure black: keep a very dark gray, otherwise the highlight will not be able to sit on it.
Mistakes to Spot Before Inking
- The hairstyle sticks to the skull. Quick test: mentally erase the hair, there should be a visible space between the contour of the skull and the outer contour of the hairstyle.
- The hair is drawn one by one. When reduced for printing, a multitude of fine lines becomes a dirty gray area. Group them.
- The back was forgotten. Seen from three-quarters, hair without mass at the back gives a cutout cardboard head.
- The strands do not start from the same point. As soon as two areas radiate from two different cowlicks for no reason, the hairstyle becomes illegible.
- The hairstyle changes from one chapter to another. Note on a short card the number of strands in the bangs and their order: it is this detail, more than the face, that makes the reader say it's not the same character.
The exercise that unblocks
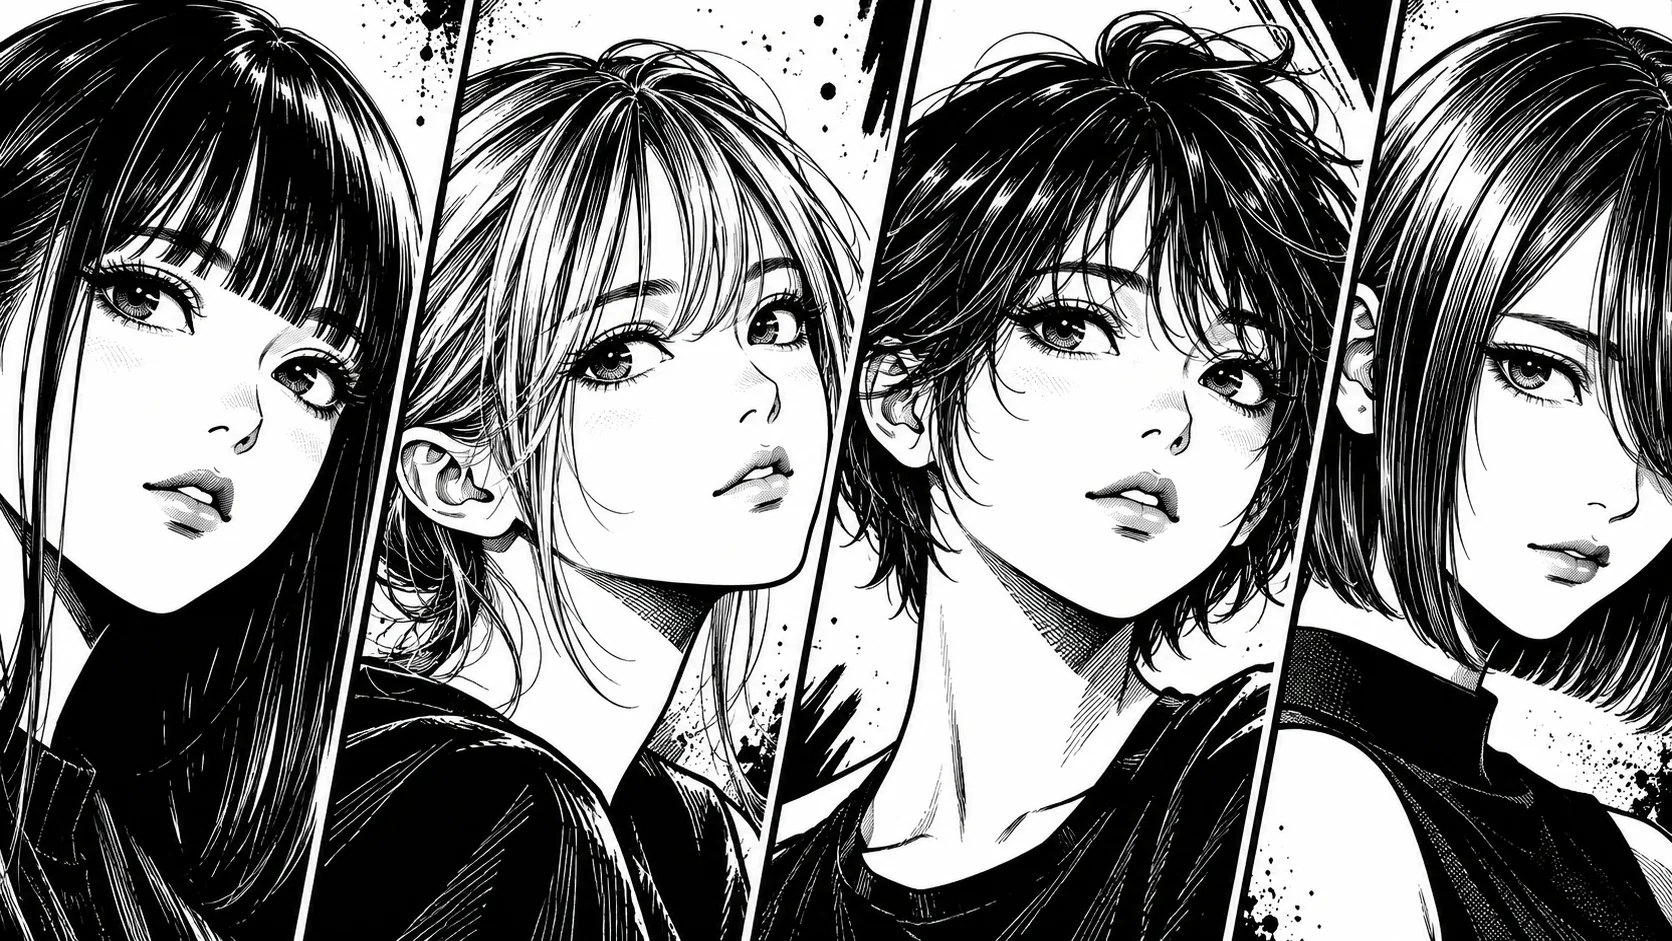
Take a single head, as a template, and photocopy or duplicate it ten times. Put ten different hairstyles on it, three minutes each, varying only the volume and the starting point: short and slicked, long and straight, high ponytail, spiky cut, windblown hair. You will understand the role of the skull faster in ten quick attempts than in one hairstyle worked on for two hours.
Conclusion
Successful manga hair depends on three decisions made before the detail: a skull drawn underneath, thickness left between the skull and the hairstyle, and three grouped masses rather than individual hairs. Add a highlight that follows the curve and two rebellious strands, and the hairstyle gains volume effortlessly. Keep a short reference sheet for bangs: it's your best insurance against inconsistencies from one chapter to the next.