Start with a sphere and a shifted axis
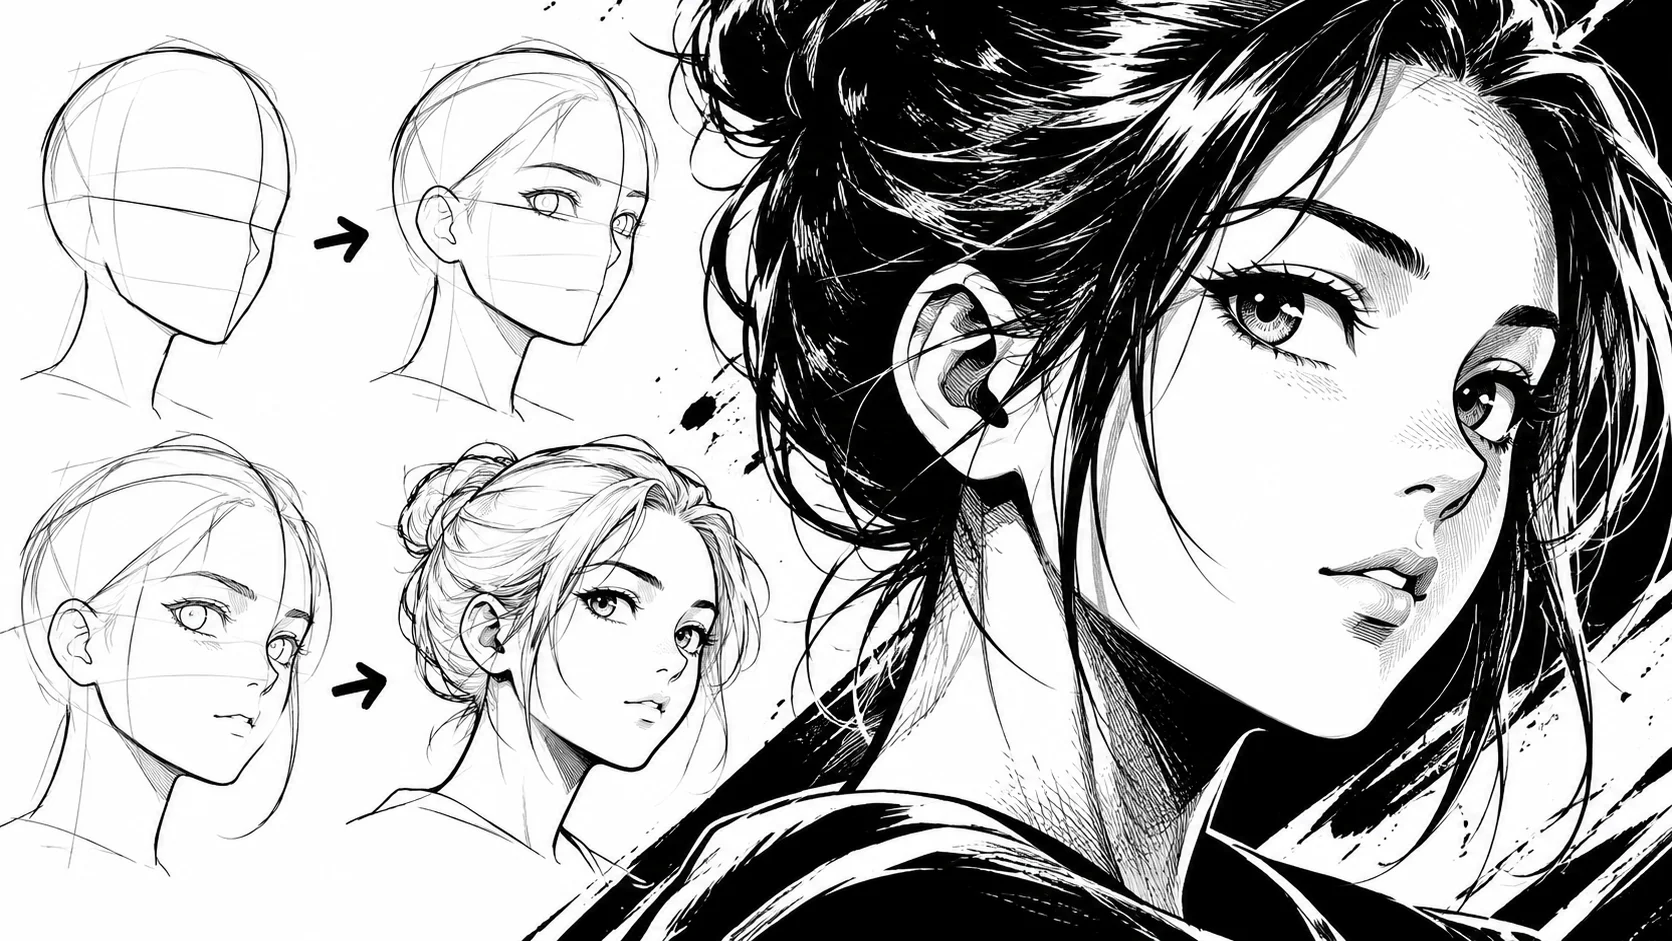
Just like from the front, we start with a circle for the skull. But the vertical line in the middle doesn't stay in the center: it curves and slides toward the side the character is looking at.
- Draw a circle with a light pencil.
- Draw the middle line like an arc, shifted toward the turned side.
- Draw the eye line, curved in the same direction, slightly below the middle of the circle.
The closer the axis gets to the edge, the more the head is turned. An axis halfway between the center and the edge gives the true three-quarters view. Then add the jaw, which goes from the circle down to the chin following the axis.
Place both eyes, one smaller than the other
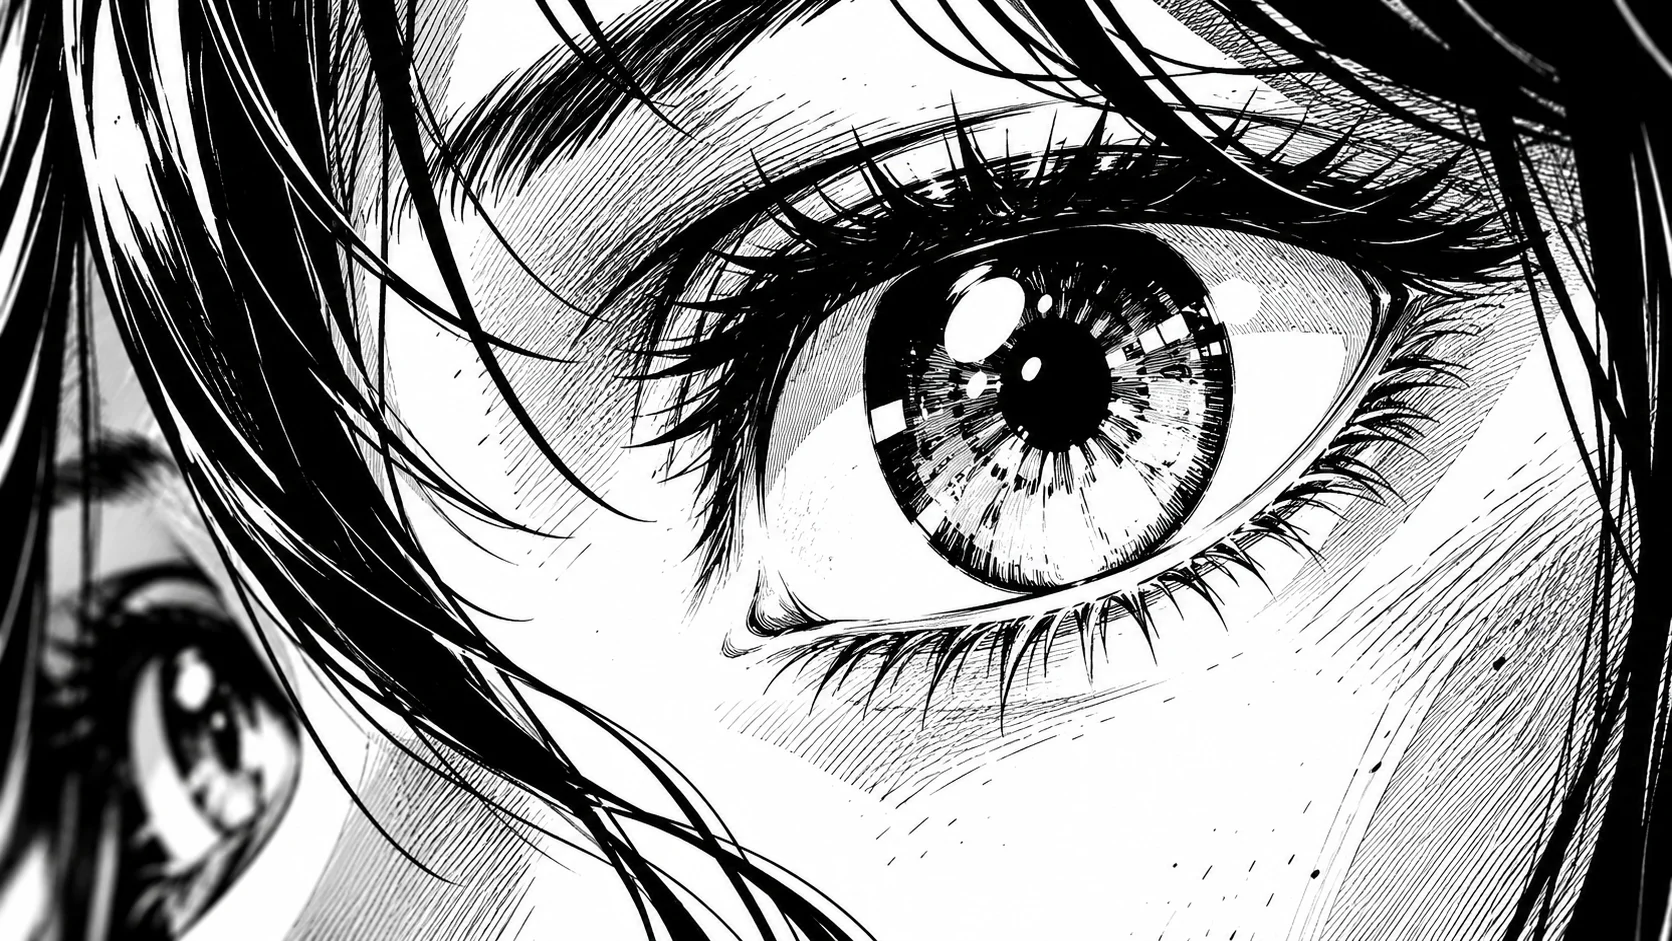
In three-quarter view, both eyes remain visible, but they are no longer identical. The eye on the near side is wider. The eye on the far side is narrower, shortened by perspective.
Place them on the curved eye line. Keep the space between them: it shrinks on the far side, but it does not disappear. If both eyes are the same size, the face falls flat, like a poorly turned-out face.
For the shape of each eye, use the method from our article on dessiner des yeux manga, then flatten it on the far side.
Draw the nose on the axis, not beside it
The nose rests on the center line, never to the side. In a three-quarter view, it begins to extend past the outline: its tip indicates the direction of the gaze.
Keep it short. A line for the tip, a small mark for the near-side nostril, and that's it. The four basic shapes are detailed in the article on manga nose.
Shifting the mouth, then positioning the ear
The mouth follows the axis as well. Its center shifts toward the turned side, and the far side shortens. A frontal smile becomes an asymmetrical line: this is normal, it's what gives it volume. See drawing a manga mouth for shapes.
The ear is the key to the angle. Only one is visible, on the near side, and it is placed between the eyebrow line and the base of the nose, set back from the outline. A failed three-quarter view almost always comes from an ear placed too far forward. Details on placement are in the article on the manga ear.
Finishing with the eyebrows, hair, and outline
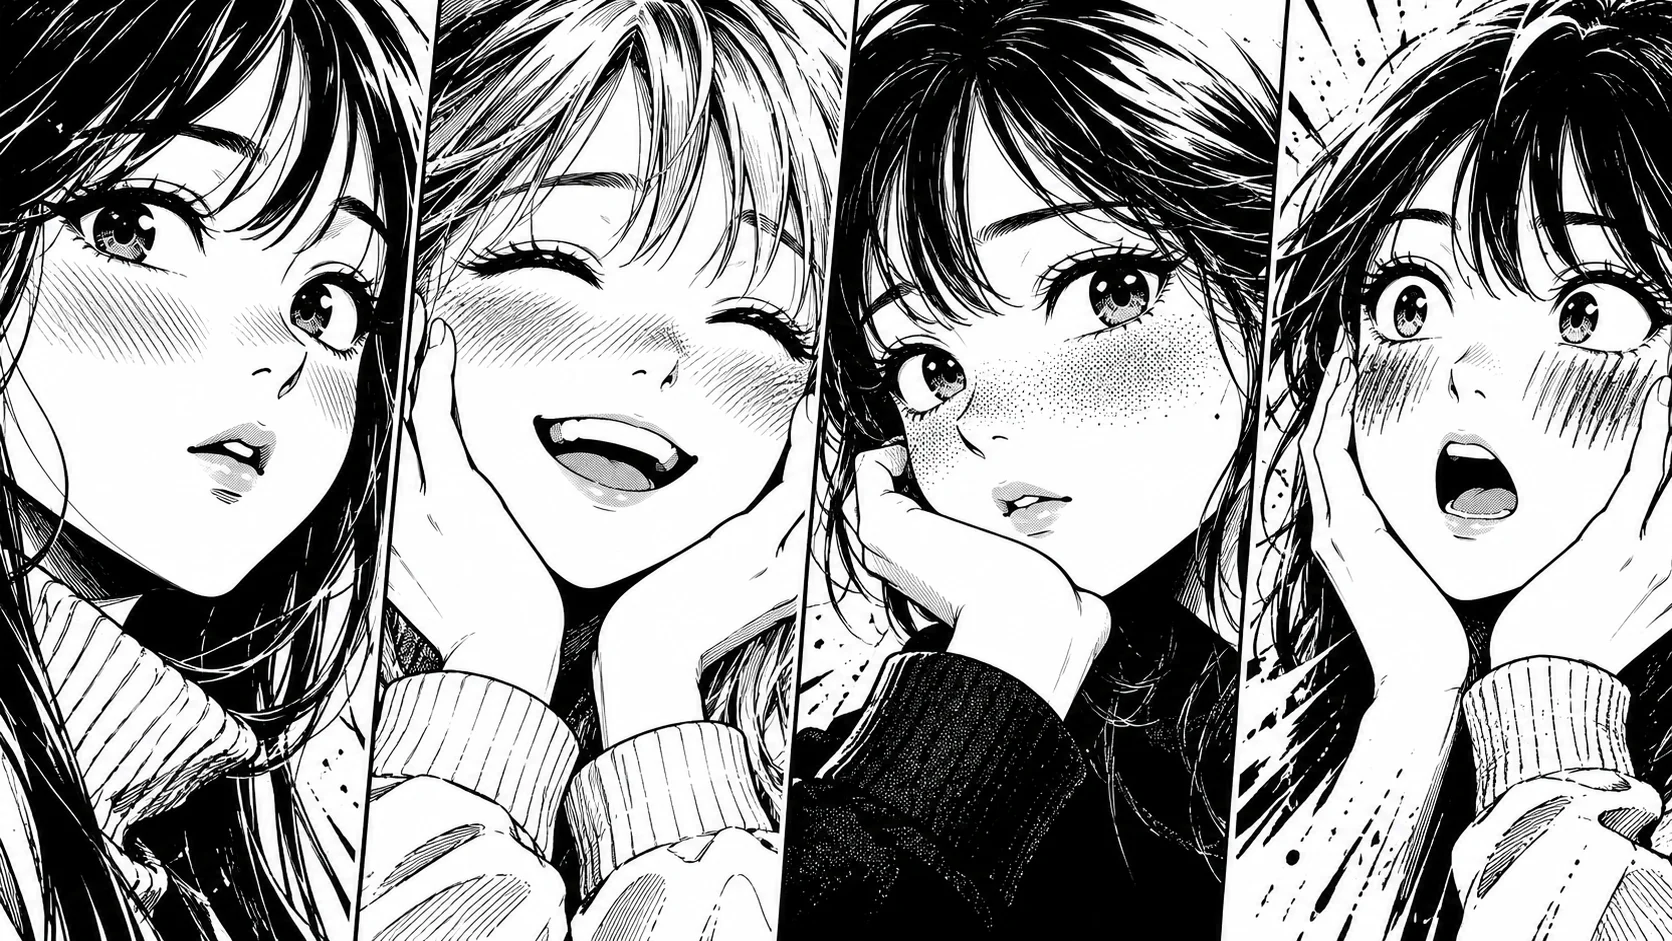
The eyebrows follow the curve of the eye line. The one on the far side is shortened, like the eye beneath it. The emotion remains the same as from the front: see manga eyebrow.
The hair is placed last, on top of the skull, not on the outline. The part or main lock of hair follows the arc of the axis. Finally, clean up the outline: a single line on the near side for the cheek, a finer line on the far side.
Mistakes that distort a three-quarter view
- A straight axis: the face looks like a frontal view with the nose pushed aside.
- Two eyes of the same size: perspective disappears.
- An ear placed too far forward: it looks glued to the cheek.
- A nose that extends too far: the character becomes a caricature.
- A symmetrical jaw: the chin falls back to the center instead of following the axis.
To correct this, flip your drawing in a mirror or upside down: the axis error becomes immediately obvious.
Conclusion
The three-quarter view boils down to a curved axis and one rule: everything far away shortens, everything close up enlarges. Practice on a neutral face before adding an expression. Once the angle holds, the expressions come naturally. And to go from a face to a complete comic page, Bulle.ai helps you keep the same character from one panel to the next.