Start with the line of action
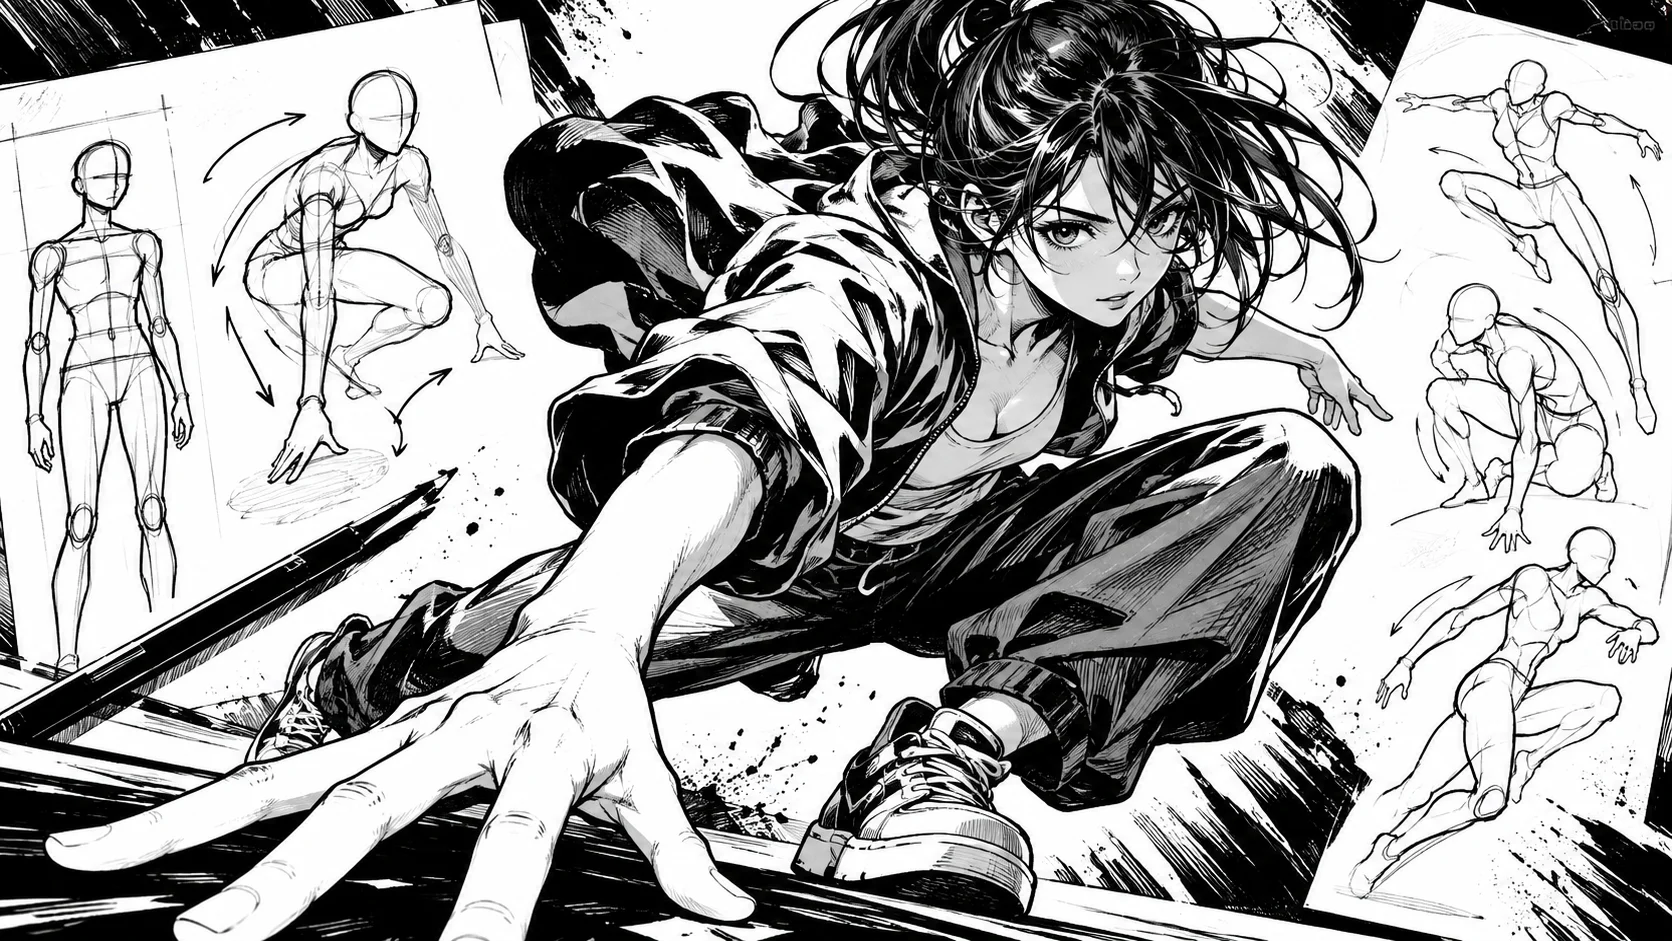
Before drawing a head or an arm, draw a single curved line that runs through the entire character, from the head to the supporting foot. This is the line of action. It determines whether the pose is tense, relaxed, leaning, or stepping back.
A straight line gives a character at attention. A C-curve gives a flexible pose, an S-curve a dynamic one. A single line is enough: if you hesitate between two, keep the simplest one and correct it afterwards.
Then place the three volumes on this line: the head, the ribcage, the pelvis. They follow one another along the curve, without ever aligning perfectly.
Shoulder and hip tilt
This is the adjustment that changes the most, for the least effort. When a character leans on one leg, the hip on that side goes up and the shoulder on the same side goes down. The two lines, the one for the shoulders and the one for the hips, cross in an X instead of remaining parallel. This method is detailed in our guide on how to draw a manga body from all angles.
In practice, two lines tilted in opposite directions right from the sketching stage are enough. If your character looks stiff, check these two lines first: they are almost always parallel.
- Horizontal shoulders and horizontal hips: mannequin pose.
- Shoulders and hips tilted in opposite directions: character pose.
- Spine connecting the two: a curve, never a ruler.
Knowing where the weight is
A posture is credible when you can see where the weight rests. Draw a vertical line from the hollow of the neck: it should fall close to the supporting foot. If it falls into the empty space between the two feet, the character looks like they are about to fall or float.
The supporting leg is nearly straight, the other leg's knee is bent or the foot is slightly set back. For a stationary character, this simple shift is enough. For a moving character, the vertical line intentionally moves outside of the support: it is this imbalance that creates momentum.
Arms and hands: placing the gesture after the body
The arms are drawn last, because they follow the pose instead of deciding it. Two reference points prevent arms that are too short: the elbow sits at waist level, and the relaxed hand reaches down to the middle of the thigh. Many characters end up with shortened arms because the artist stops them at the hip.
Also avoid having both arms symmetrical. One arm moving while the other stays back is enough to create a gesture: hand in pocket, hand on hip, raised arm. For the hands themselves, start with a palm block rather than five fingers, as in our guide on how to draw a manga hand.
Mistakes that stiffen a posture
Almost the same five mistakes keep happening. Spotting them before inking saves you from redoing everything.
- Parallel shoulders and hips, resulting in a block-like body.
- Head aligned straight above the pelvis, with no spinal curve.
- Two symmetrical arms, like in an architectural front view.
- Pose drawn from the front when the scene calls for a three-quarter view.
- Weight evenly split between both legs, with no clear support.
A simple test: fill the silhouette in black. If you cannot tell what the character is doing, the posture is too timid, even if the inner drawing is neat.
Conclusion
A good manga posture relies on four decisions made at the sketching stage: a line of action, opposing shoulder and hip angles, a clear weight-bearing point, and non-symmetrical arms. Facial details come next.
If you want to see these poses flow together in a real page without drawing everything by hand, you can test Bulle.ai, where you build a manga panel by panel, and check out the Bulle.ai presentation page for credit packages.