
Start with the eye, not the drop
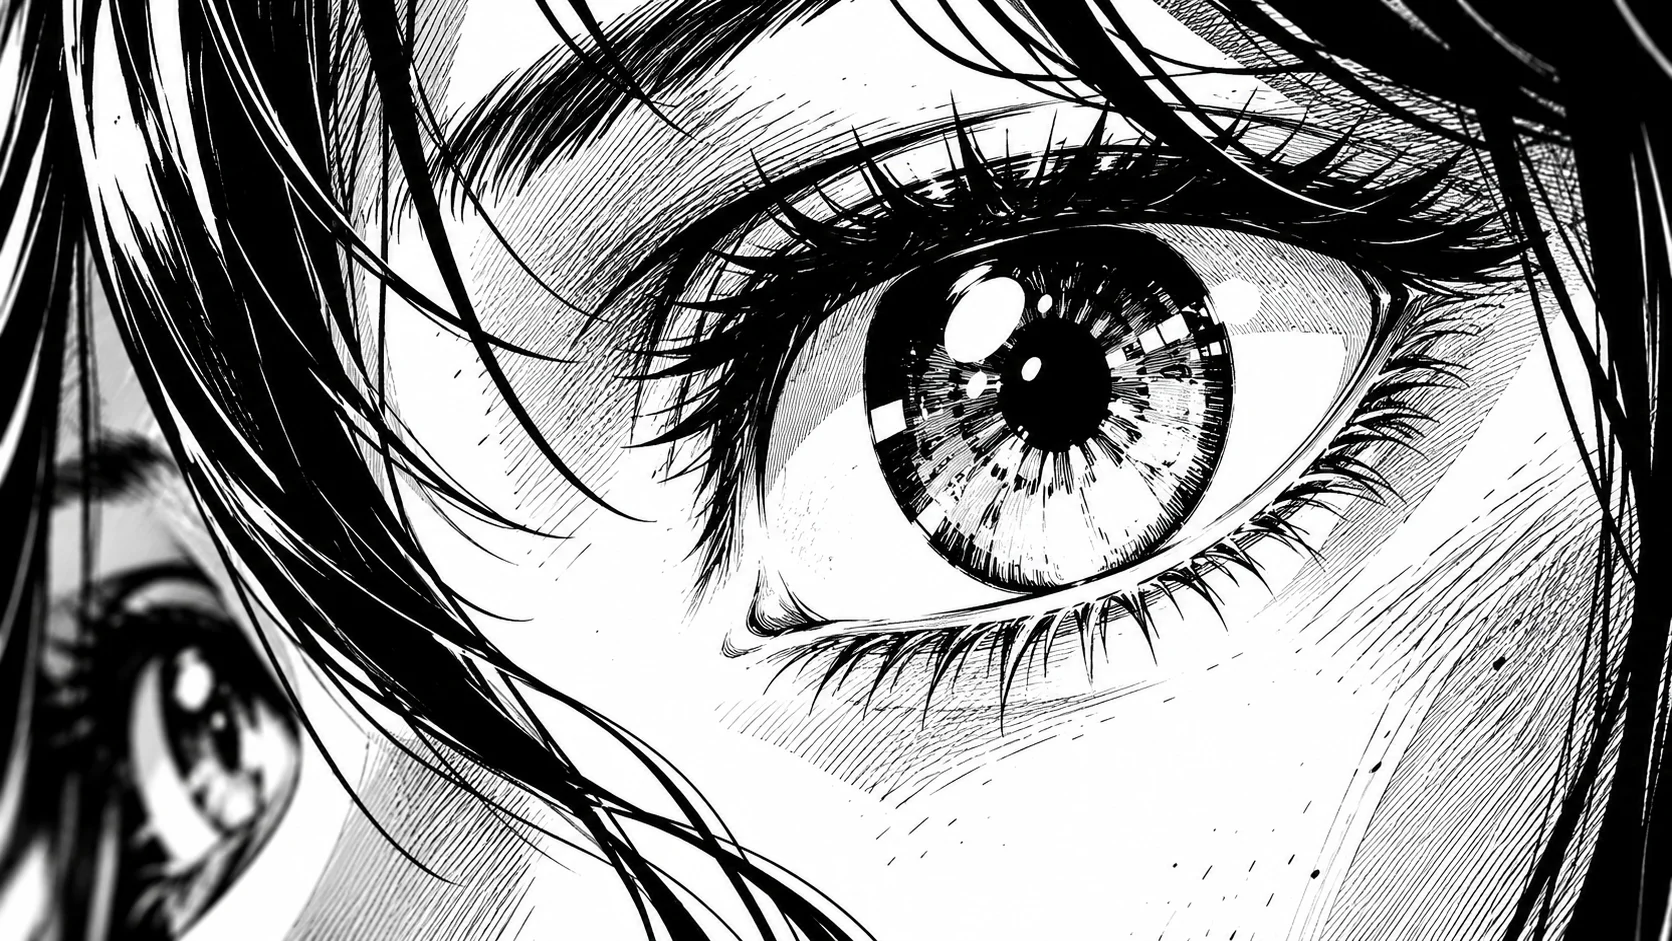
A tear is only worth as much as the gaze that surrounds it. If the eye is neutral, the drop looks like an accident. So go back to constructing the eye: the upper eyelid frames the expression, and the iris is cut off by this eyelid instead of being a full circle. Our method for drawing manga eyes details this sequence.
For a crying character, you play with two settings. First, the reflection: one or two light spots in the iris are enough, and you can add a larger one to give the effect of a watery eye. Second, the eye line: in manga, it is often lowered a bit below the middle of the head, which leaves room on the cheek to accommodate the path of the tear.
Draw the eyes, and only after that, add the water. In the other direction, the drop has no support and it floats.
Where the tear is born and where it flows
A tear can form in two possible places: at the edge of the lower eyelid, or in the inner corner of the eye, on the nose side. The lower edge is used for most scenes because it follows gravity in a readable way.
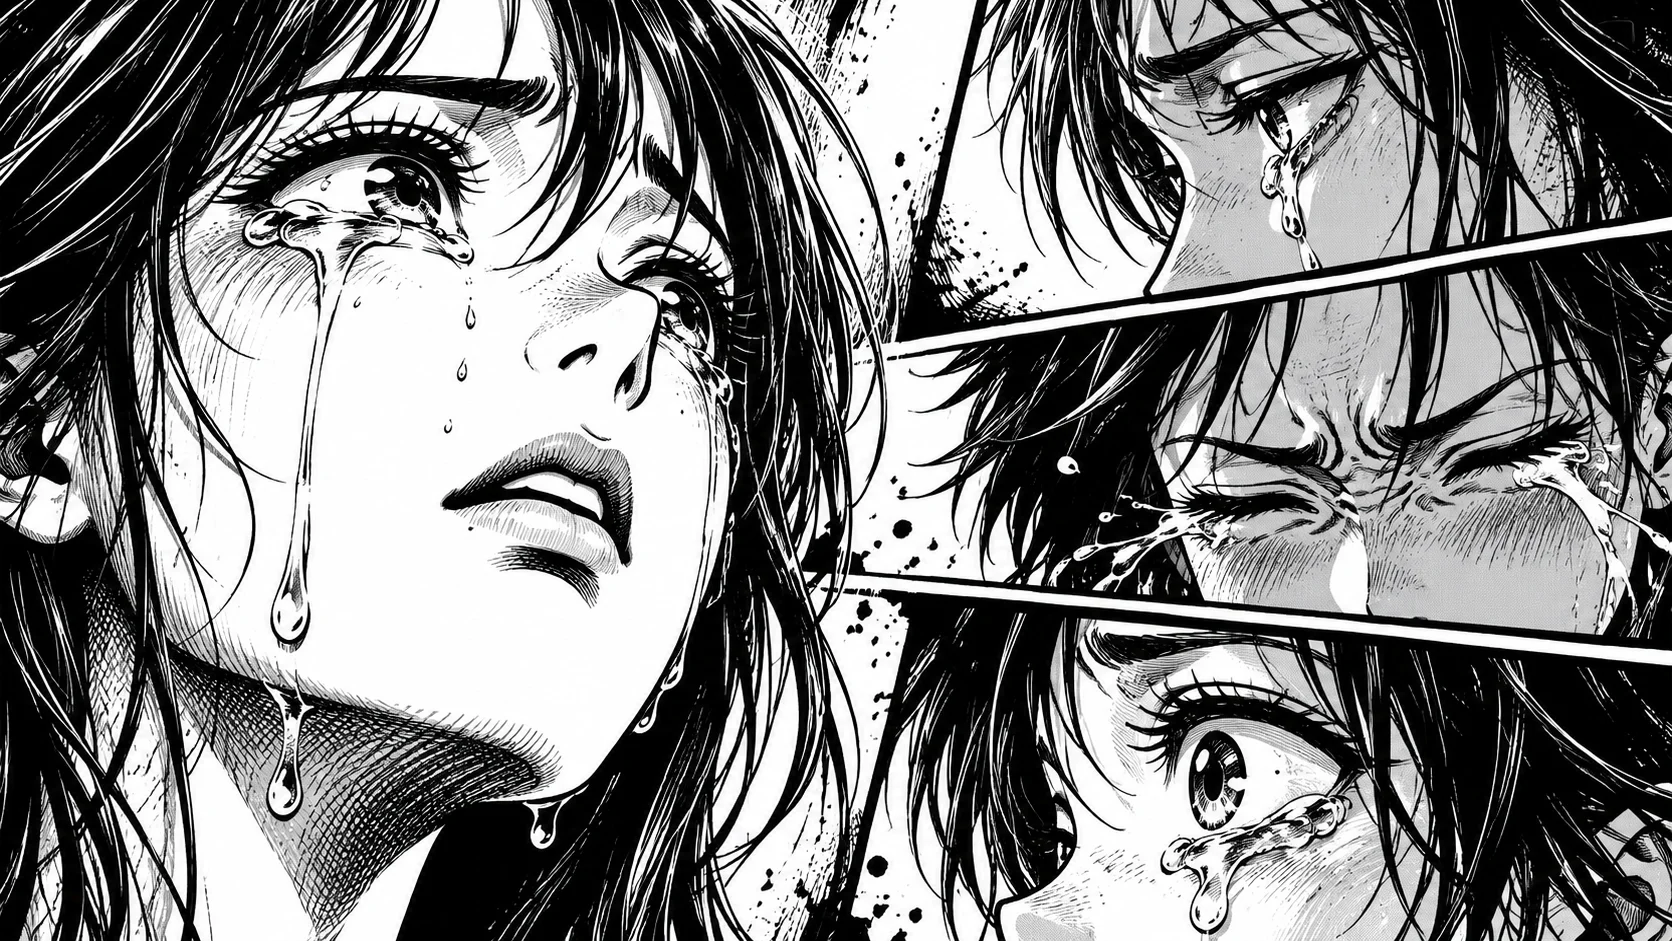
Once started, the tear descends following the contours of the face. It runs down the cheek, then detaches at the chin. Three simple rules make it believable:
- it always starts from the eye, never from the cheek;
- it follows the direction of the head: in three-quarter view, it slides down the visible side of the cheek;
- it thickens a bit at the bottom, like a real drop gaining weight.
The classic shape is a teardrop, round at the bottom and pointed at the top. It is completed by a small clear curve for the reflection, on the side of the light source.
Four types of crying to choose from
Each type of tear says something different. Choose it before drawing, depending on the emotion of the scene.
- The pearl: a single drop at the corner of the eye, not yet falling. It conveys restrained emotion, the sadness being hidden.
- The stream: one or two drops sliding down the cheek in a thin line. This is quiet crying, suited for a calm scene.
- Shiny eyes: no drop at all, only larger and more numerous reflections in the iris. This fits touching moments, emotion, or joy that brings tears to the eyes.
- The torrent: a flood pouring from each eye in an arc. It belongs to the comic or excessive register, and reads as a deliberate exaggeration.
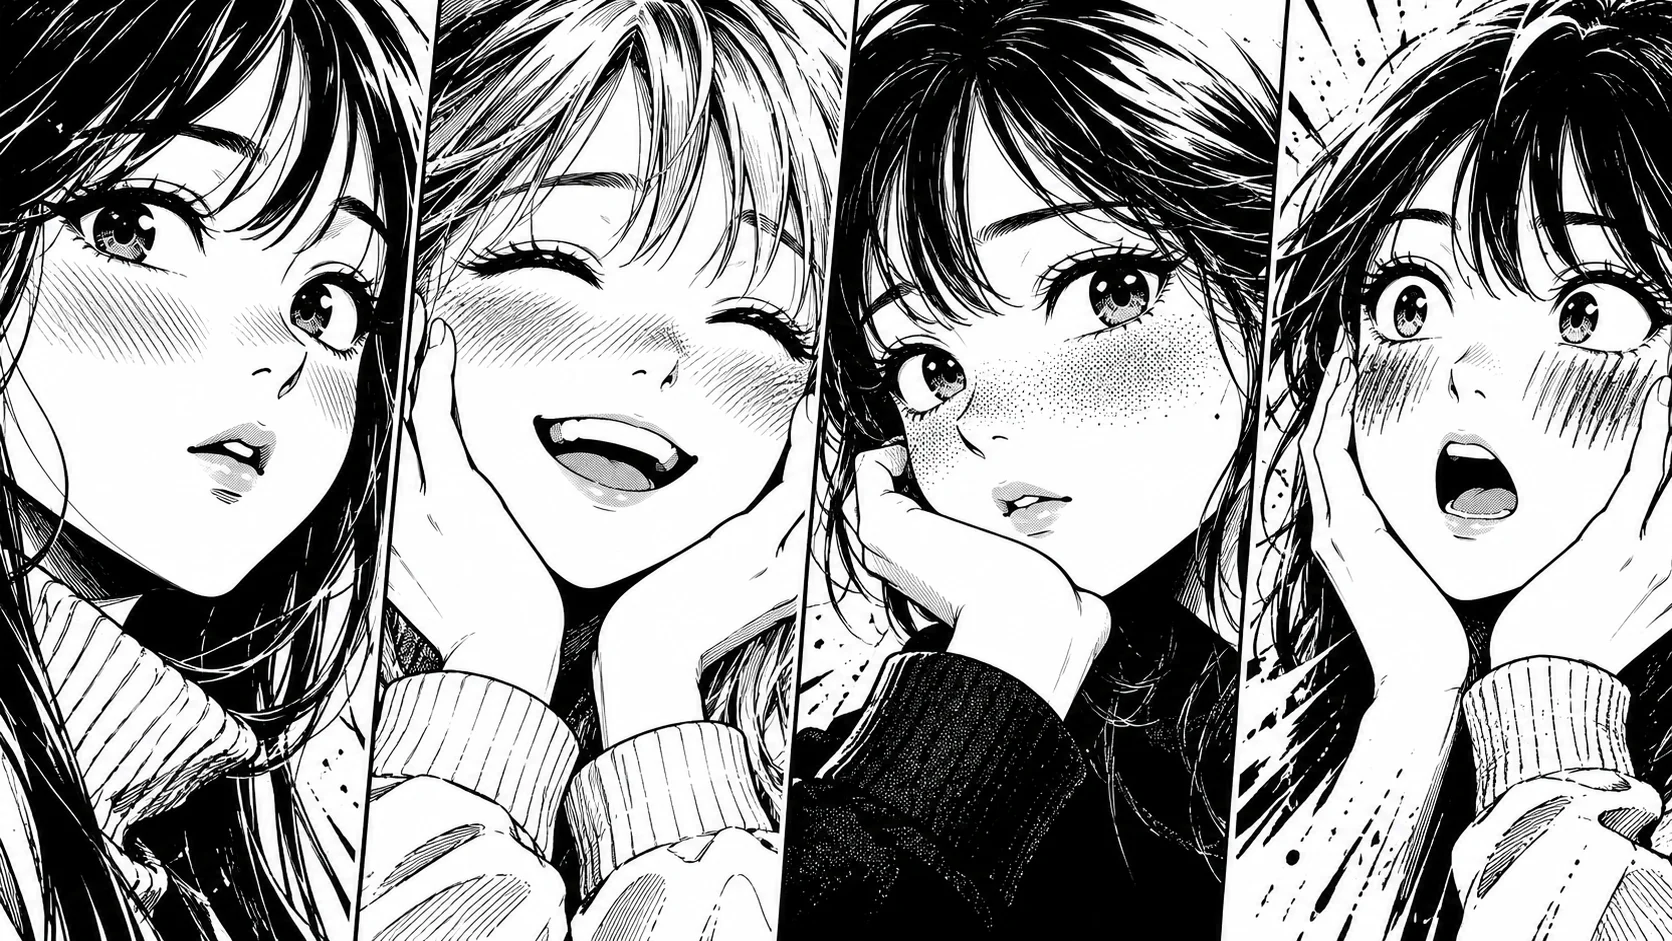
The choice also changes the eyebrow. To harmonize the entire face, look at the five eyebrow positions and the six basic expressions: crying with an angry eyebrow sends a contradictory message.
Mistakes that turn a tear into sweat
The most frequent confusion is with a sweat drop. Both have the same shape. What distinguishes them is the location and the context. Sweat appears on the forehead or temple, far from the eye. A tear starts from the eye, and the expression around it carries sadness.
Four mistakes often recur:
- a drop placed on the cheek with no connection to the eye, floating around;
- an outline that is too thick, making it look like a marble;
- perfectly symmetrical tears on a three-quarter view face, where the distant eye is smaller;
- a neutral or smiling expression with tears, unless the scene is specifically aiming for that contrast.
To check your drawing, cover the drop with your finger. If the face no longer conveys sadness, it is the eye that needs to be redone, not the tear.
Maintaining tears across multiple panels
As soon as a character cries across several panels, the difficulty changes: you must keep the same tear shape and placement from one panel to the next. A tear that changes size or side for no reason breaks the continuity of the scene.
Choose one type of crying per scene and stick to it. Note the starting position (lower edge or inner corner) and the size of the drop on a reference sheet, then reuse them in each panel. To produce your pages with stable characters, you can try Bulle.ai, which maintains visual consistency from one page to the next.
Conclusion
A successful manga tear relies on three things: an eye constructed before the drop, a starting point at the edge of the eye, and a type of crying chosen based on the emotion. Do the exercise with the four types on the same face, and compare what each one tells.
To go further, review the basics of the front-facing manga face, then move on to your own comic pages on Bulle.ai.