Understanding where the neck really attaches
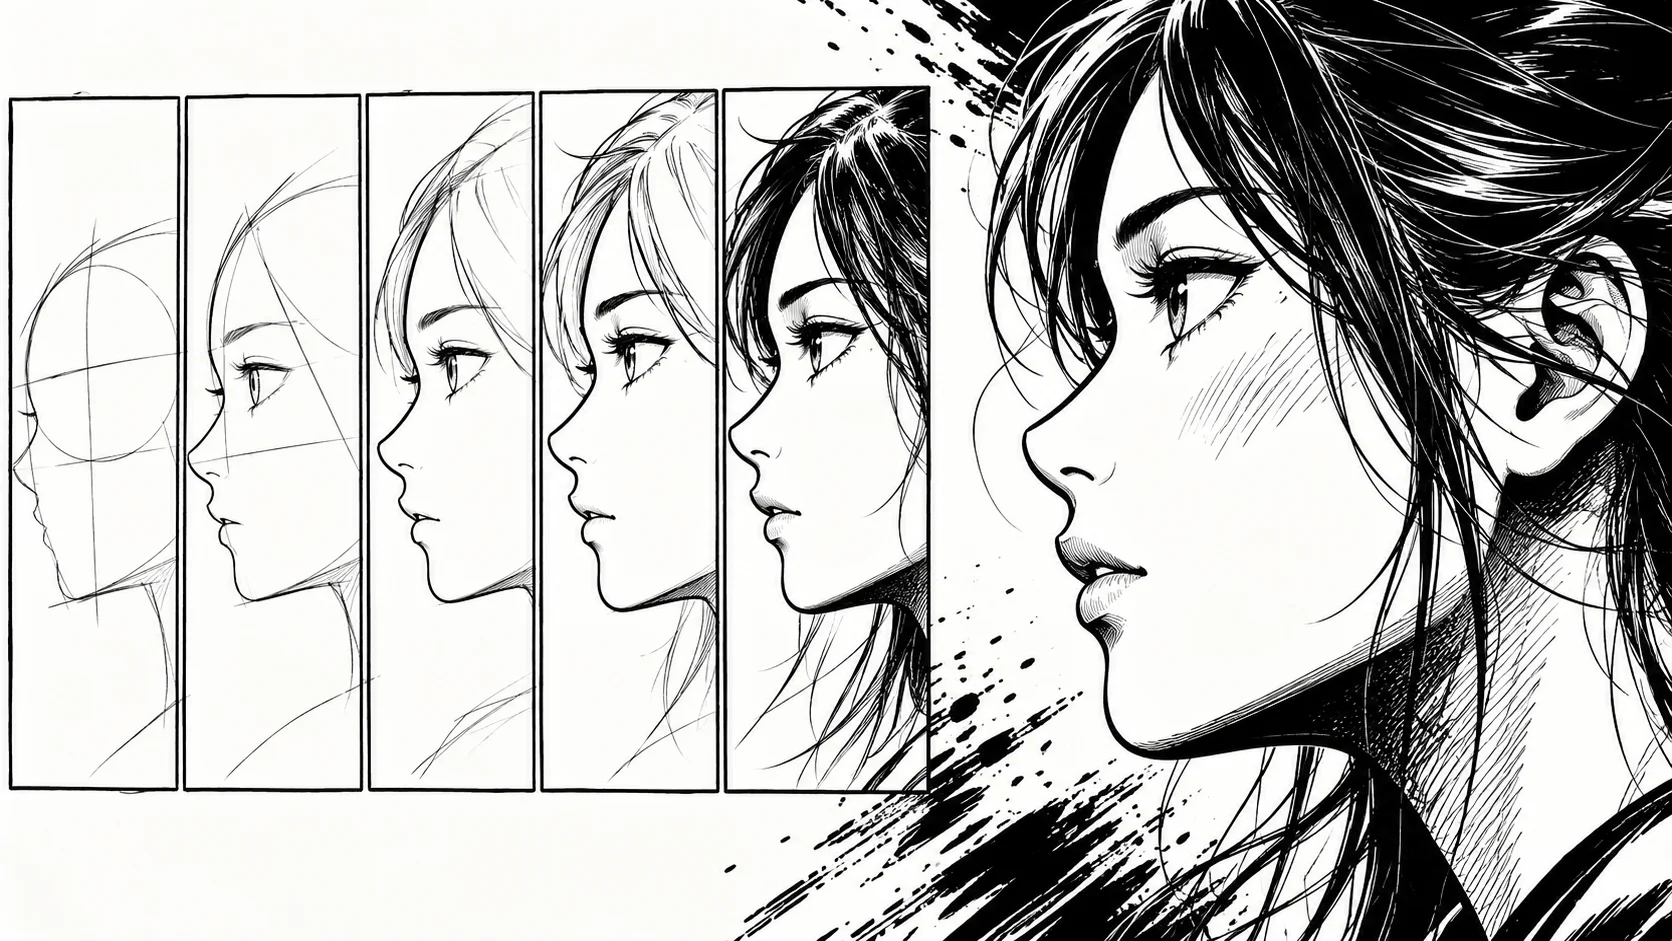
In the blog's manga profile guide, the head is built from a circle for the skull, to which a forward-projecting jaw is added. This is a good image for the neck: it doesn't attach under the jaw, it attaches under the skull, slightly behind the centerline.
From the front, this isn't visible. From the side and three-quarters view, this is the difference between a character looking straight ahead and a character whose head is falling forward. Before drawing the neck, locate the center of the skull's circle, then move down slightly toward the back.
Step 1: placing two parallel lines under the skull
Draw two vertical lines, quite close to each other, starting from the base of the skull. For a standard character, the distance between them represents roughly half the width of the face. A wider neck gives a stocky character, a thinner neck a young or frail character.
Do not draw them perfectly straight. A slight outward flare towards the bottom avoids the pipe effect and prepares the connection with the shoulders.
Step 2: choosing the length according to the character
In manga, the neck is short by default, sometimes barely visible. A few simple benchmarks:
- A child or a heavily stylized style: neck almost absent, the chin touches the shoulder line.
- A teenager or a standard adult: neck about the height of one eye.
- A slender or elegant character: longer neck, but never longer than the face is wide.
A neck that is too long breaks the silhouette faster than one that is too short. When in doubt, shorten it.
Step 3: connecting to the shoulders with the trapezius
The neck does not stop abruptly on a horizontal line. It widens as it goes down towards the shoulders, like the two sides of a trapezoid. This slope is the line of the muscle that connects the back of the neck to the shoulder.
Draw two gentle curves starting from each side of the neck and meeting the ends of the shoulders. If these lines are too horizontal, the character looks like a doll. If they are too steep upwards, they look tense or angry, which may be intentional.
Step 4: adjusting the neck to the angle of the head
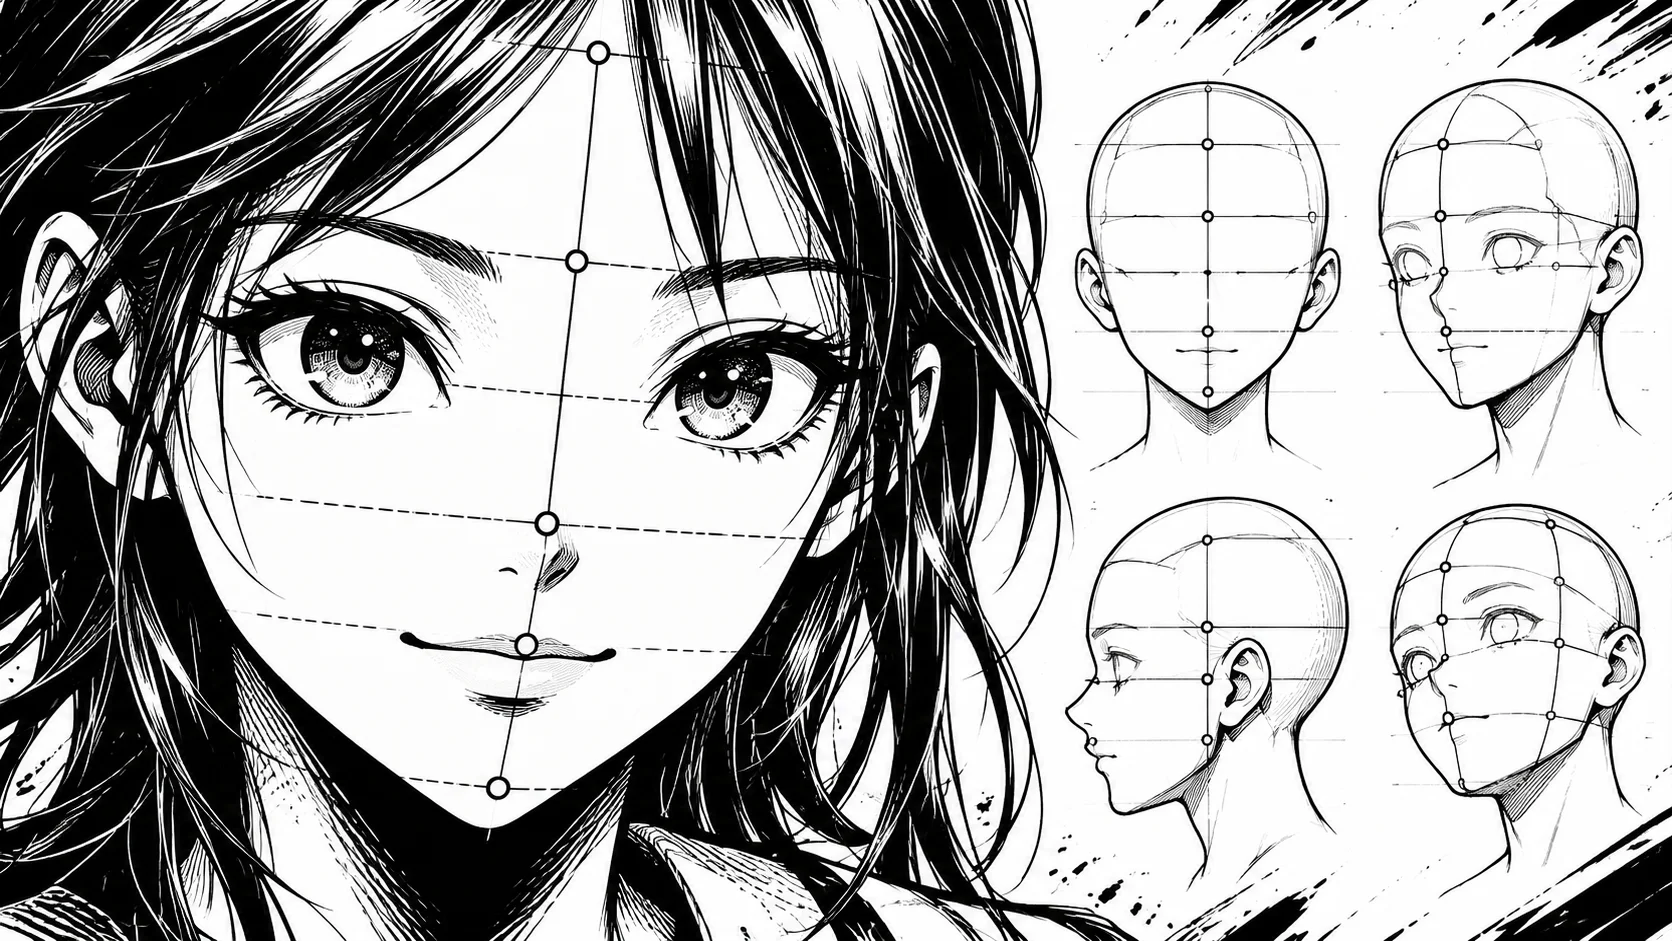
When the head turns, the neck does not turn as much. For a three-quarter view, the chin moves to one side, but the attachment under the skull stays in roughly the same place. Keep the neck closer to the axis of the torso than to the axis of the face.
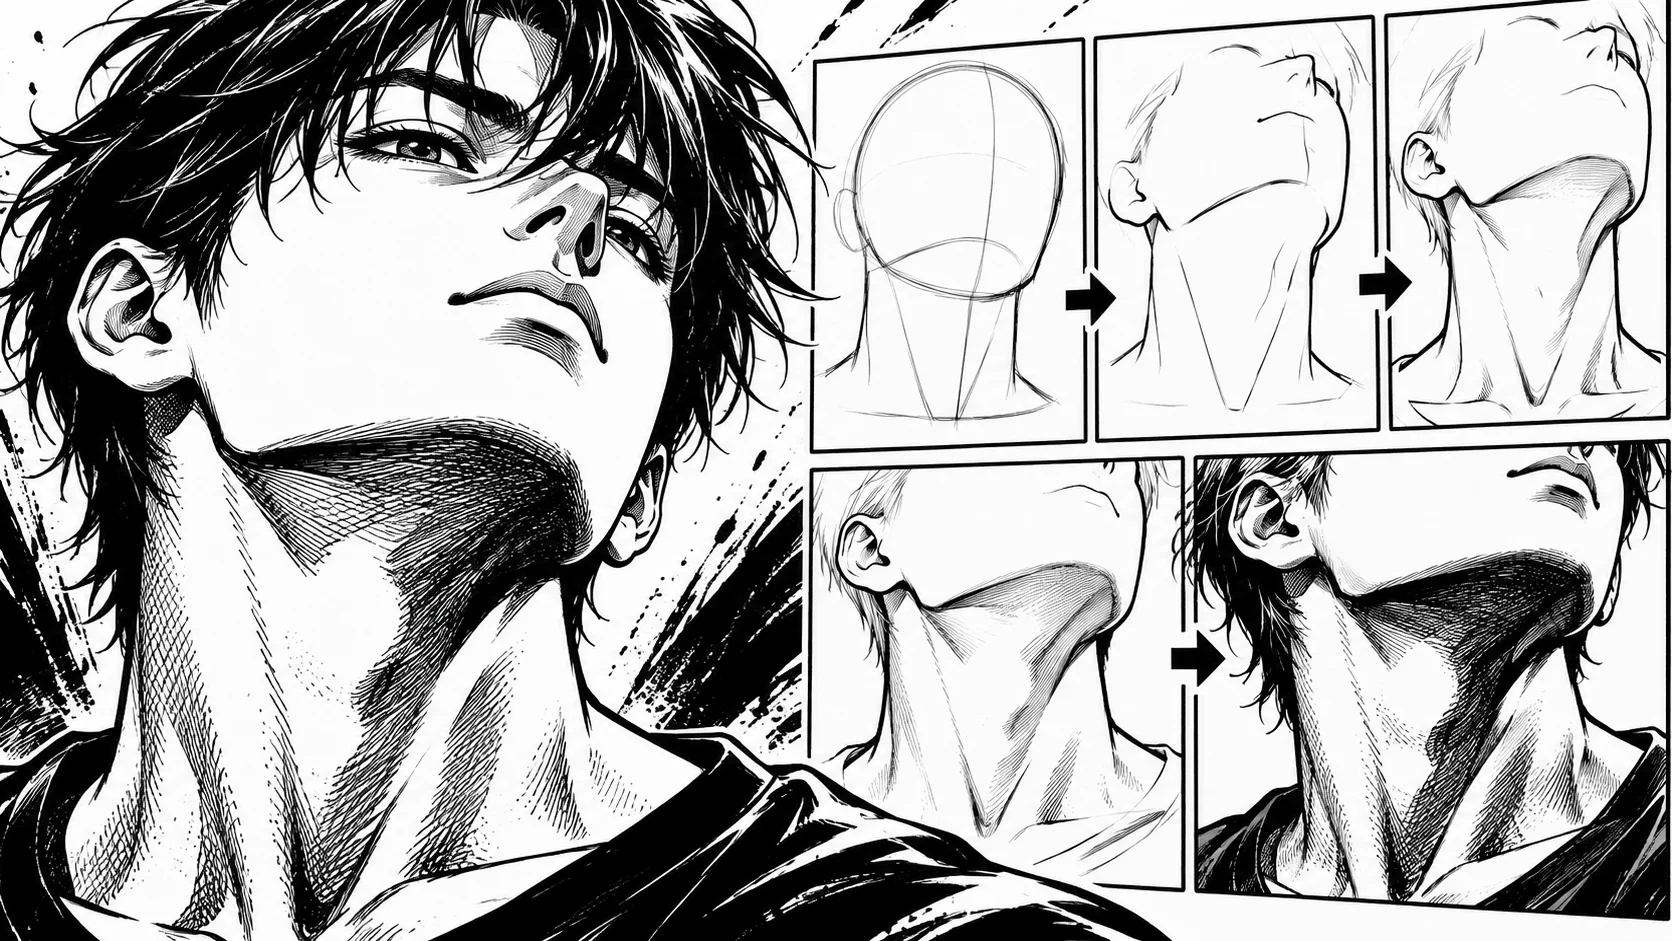
If the head tilts upward, the neck visually shortens under the chin and the jaw becomes visible. If it lowers, the neck almost disappears behind the head. These foreshortenings add expression: a character who lowers their head and whose neck is no longer visible appears embarrassed or sad. The same principles of harmony between facial features are detailed in the article on Manga Addict expressions.
Common mistakes that ruin a neck
Four mistakes almost always recur:
- Attaching the neck under the chin instead of under the skull, which tilts the head forward.
- Drawing a neck as wide as the jaw, which gives an unintended massive appearance.
- Forgetting the slope of the trapezius and drawing the neck at a right angle to the shoulders.
- Drawing the neck before placing the shoulders, then forcing the connection afterward.
To check, here is a trick: blur the drawing by squinting. If the head seems to fall or float, the attachment is poorly placed. Once the neck is sorted out, move on to the rest of the construction with the guide on how to draw a manga body, or work on the complete page with Bulle.ai to place your characters in a panel layout.
Conclusion
The manga neck is settled in five gestures: attaching under the skull, drawing two close lines, choosing a short length, connecting via the trapezius, then following the angle of the head. Do these steps in this order on three different faces, front view, three-quarter view and profile, and the attachment will no longer pose any questions. To place the rest of the face, use the reference grid of the manga face front view.